
showing posts flaired Tunisian — clear

0

Working on the strap for that bag from a few posts ago, and it's

Picture from below of a hand, coming from off screen on the right, holding something. It looks like a thin strap of crocheted fabric, rolled up into a cylinder. The outermost end of the strap still has a double-ended Tunisian crochet hook attached to it, with some yarn trailing away below. A ceiling is visible in the background.
preview

Working on the strap for that bag from a few posts ago, and it's... quite a bit more ponderous than the main part was, lol. I gotta say though, Tunisian flat stitch is as awesome as CrochetKim says it is.

#tunisiancrochet #crochet #wip @bistitchual@piefed.social

Working on the strap for that bag from a few posts ago, and it's... quite a bit more ponderous than the main part was, lol. I gotta say though, Tunisian flat stitch is as awesome as CrochetKim says it is.

#tunisiancrochet #crochet #wip @bistitchual@piefed.social

0

Another Tunisian Sampler Purse in progress

preview

One if my boyfriends wanted one. This time we're going with:

  • Basketweave v2 stitch
  • new one I'm calling Cordyceps stitch
  • Smock stitch
  • bamboo stitch
  • What CrochetKim calls "Tunisian Simple Stitch To Back Loop" but I call eyeball stitch
  • Reverse stitch
  • Simple stitch

One if my boyfriends wanted one. This time we're going with:

  • Basketweave v2 stitch
  • new one I'm calling Cordyceps stitch
  • Smock stitch
  • bamboo stitch
  • What CrochetKim calls "Tunisian Simple Stitch To Back Loop" but I call eyeball stitch
  • Reverse stitch
  • Simple stitch
0

Tunisian Sampler Purse

preview

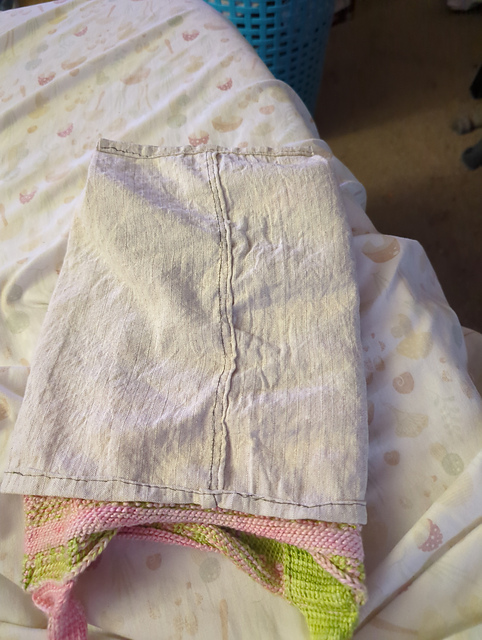
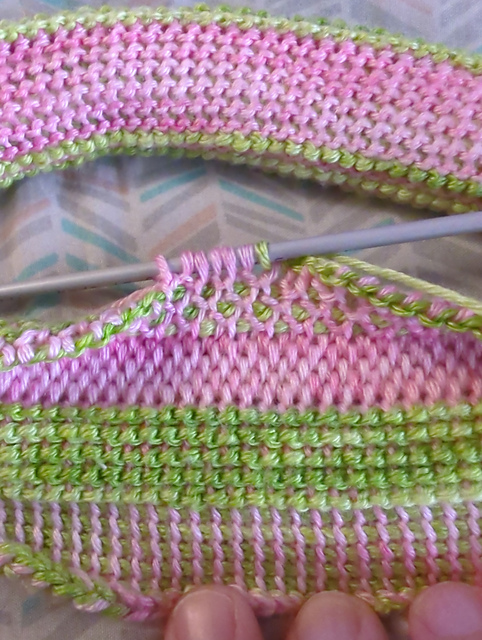
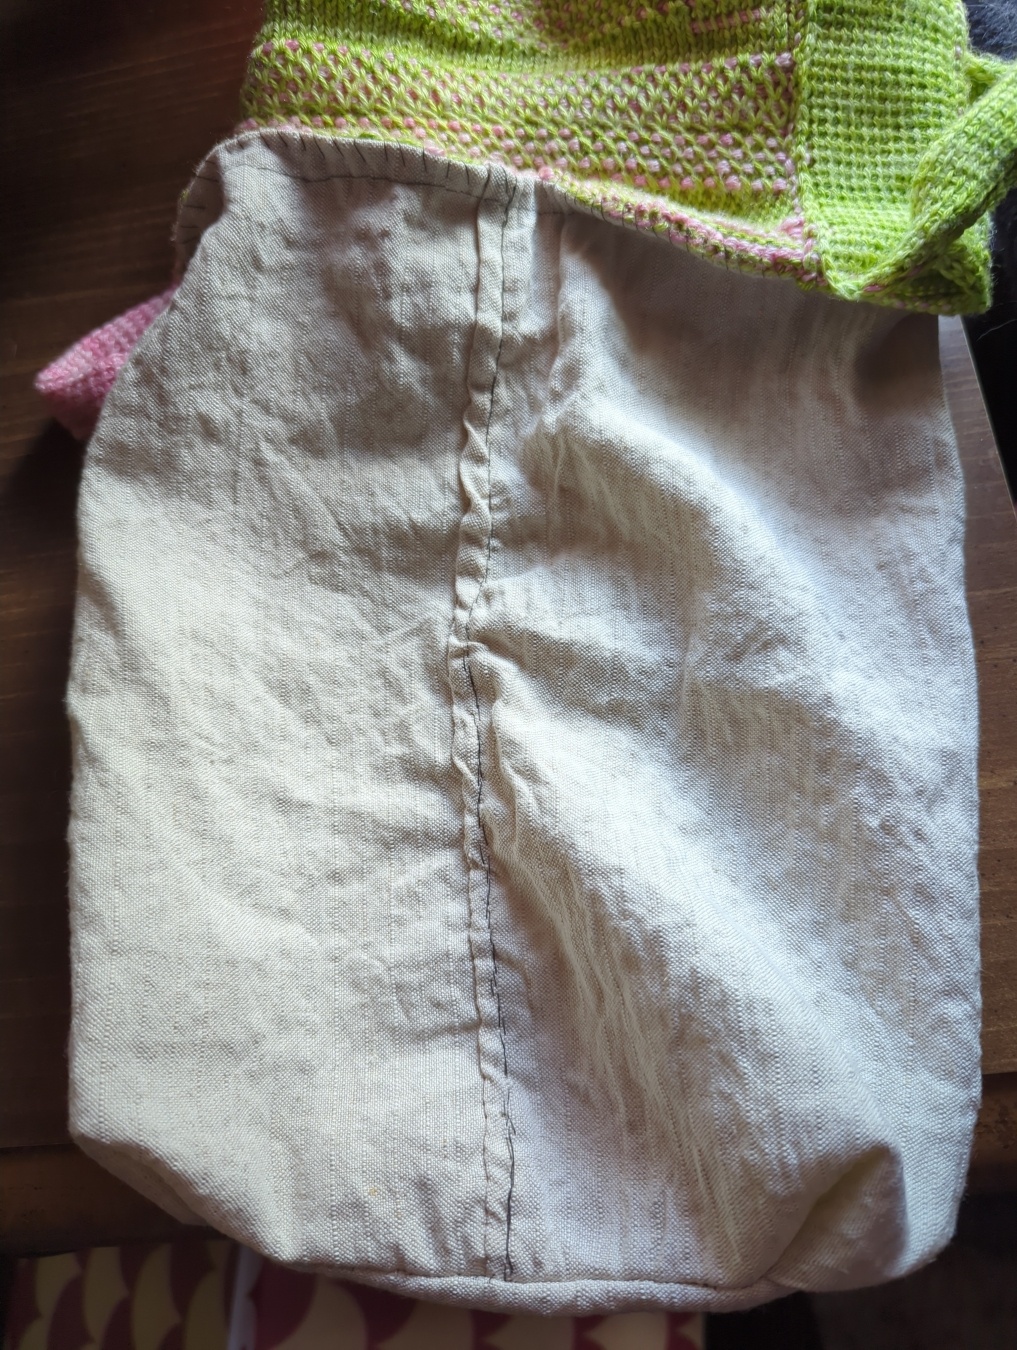
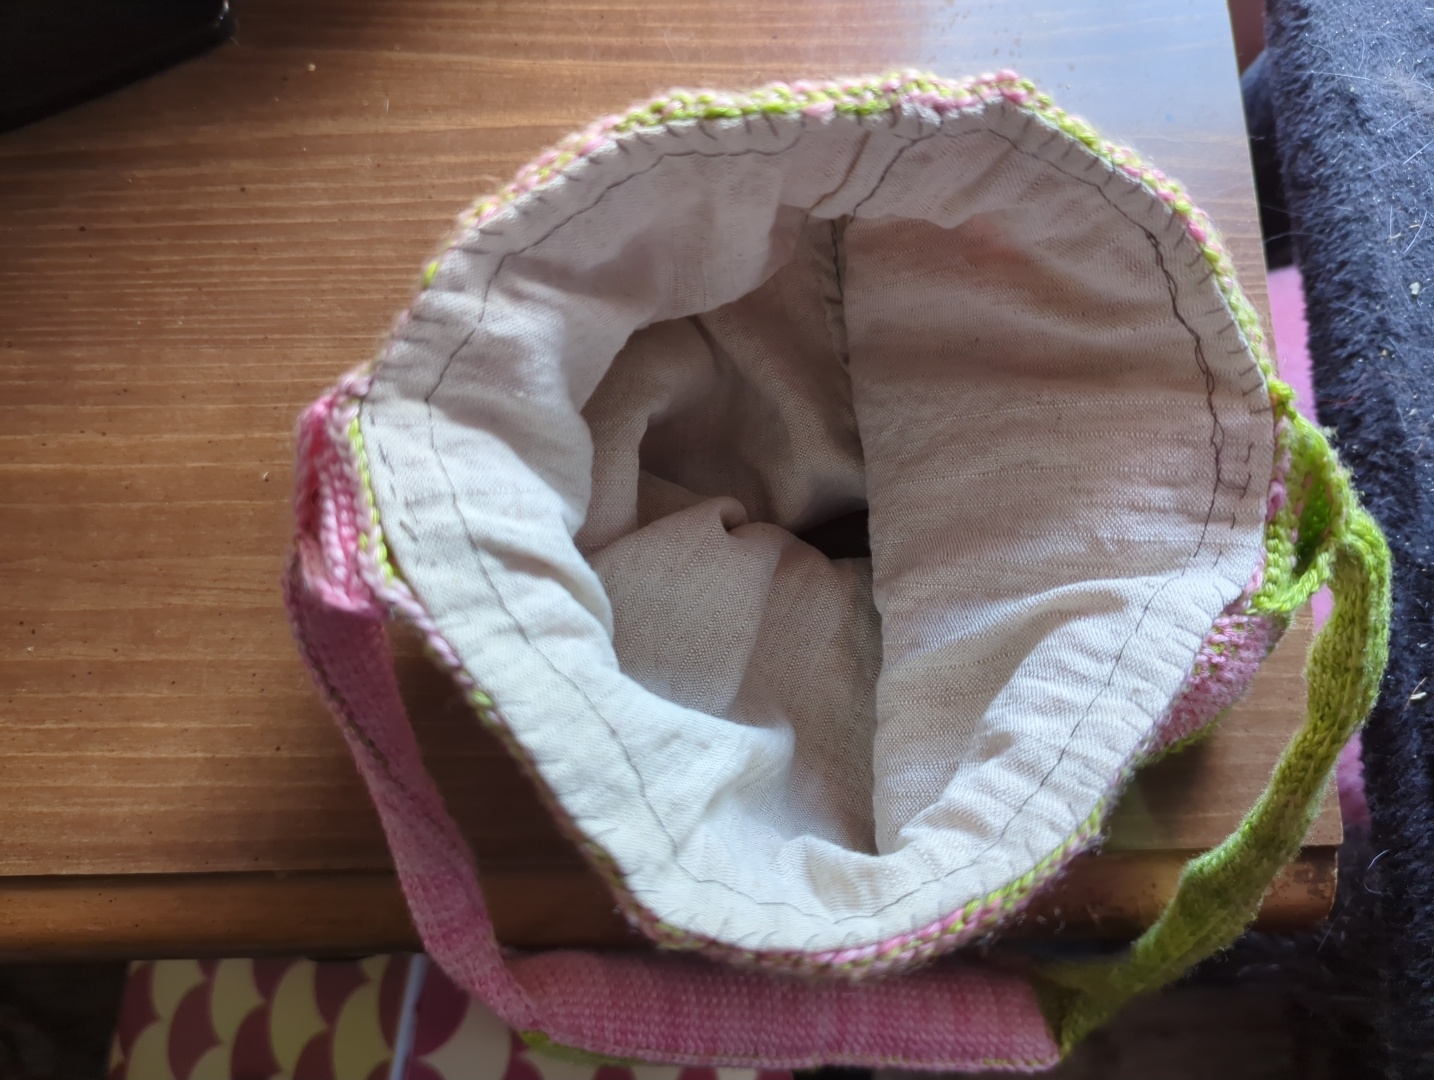
Finally finished, this took so long lol. Please forgive my amateur work! Not sure this thing is good enough for anybody else to want to make one, but just in case, it basically goes like this:

  1. Make a wide tube with Tunisian in-the-round technique, using a double sided hook and two different yarns.
  2. Switch to a new type of stitch every 5 rows or so, try to alternate between curling and non-curling types.
  3. Once your bag is approximately half the intended height (or you run out of stitches) then exchange your forward pass yarn with your backwards pass yarn and repeat the entire first half. This gives you all the same patterns again, but switches the foreground/background colors.
  4. Once the tube is done, bind off in pattern.
  5. Make a thin flat band, switching colors halfway through. Long enough to wrap all the way around the tube height-wise, with enough extra to make a good strap, and then enough extra again to match shoulder-width.
  6. Sew the middle section of this band to one open end of the tube, such that it is closed off, and then up either side.
  7. Take both free ends of the band, overlap them shoulder-width, then sew the overlap area together.
  8. Run a bunch of double-forearm length pieces of thread through hard beeswax, then iron them so it absorbs.
  9. Cut fabric so that, when held in tube shape, it matches the bag size and then some.
  10. Backstitch a felled seam to make the tube shape permanent.
  11. At one open end of the tube, fold a bit of both sides inward, paper sandwhich bag style.
  12. Backstitch a felled seam across this open end, closing it off and keeping the folded-in sides in place.
  13. Fold over the rim of the open end twice and backstitch it.
  14. Put the fabric bag inside the crochet bag such that the corners align.
  15. Use a strong but removable stitch to sew the rim of the inner bag to the outer bag.

For this particular one in the pic, the strap is made in flat stitch, and all the stitches used on the body are:

  • Wrapped reverse stitch
  • 2×2 rib of knit and wrapped reverse stitches.
  • Simple stitch to back loop
  • Offset cross stitch
  • Smock stitch
  • Knit stitch
  • Honeycomb stitch
  • Full stitch
  • Reverse stitch
  • Simple stitch

...and for materials I used:

  • Fingering weight Lumen wool/silk yarn made by the Lancaster Yarn Shop, in peridot and shell pink
  • 3.5mm Addi Tunisian double hook
  • Size 10 Tulip bent tip tapestry needle
  • Size 26 John James gold-plated tapestry needle
  • 50wt Aurifil cotton Mako thread #BMK50-5013
  • 5 OSY Tuscarora Mills cotton/linen dimity weave fabric #107-N
  • Local beeswax
  • Iron, ironing board
  • "Pineapple Grove" scented Soak all-natural detergent

More pics:

Finally finished, this took so long lol. Please forgive my amateur work! Not sure this thing is good enough for anybody else to want to make one, but just in case, it basically goes like this:

  1. Make a wide tube with Tunisian in-the-round technique, using a double sided hook and two different yarns.
  2. Switch to a new type of stitch every 5 rows or so, try to alternate between curling and non-curling types.
  3. Once your bag is approximately half the intended height (or you run out of stitches) then exchange your forward pass yarn with your backwards pass yarn and repeat the entire first half. This gives you all the same patterns again, but switches the foreground/background colors.
  4. Once the tube is done, bind off in pattern.
  5. Make a thin flat band, switching colors halfway through. Long enough to wrap all the way around the tube height-wise, with enough extra to make a good strap, and then enough extra again to match shoulder-width.
  6. Sew the middle section of this band to one open end of the tube, such that it is closed off, and then up either side.
  7. Take both free ends of the band, overlap them shoulder-width, then sew the overlap area together.
  8. Run a bunch of double-forearm length pieces of thread through hard beeswax, then iron them so it absorbs.
  9. Cut fabric so that, when held in tube shape, it matches the bag size and then some.
  10. Backstitch a felled seam to make the tube shape permanent.
  11. At one open end of the tube, fold a bit of both sides inward, paper sandwhich bag style.
  12. Backstitch a felled seam across this open end, closing it off and keeping the folded-in sides in place.
  13. Fold over the rim of the open end twice and backstitch it.
  14. Put the fabric bag inside the crochet bag such that the corners align.
  15. Use a strong but removable stitch to sew the rim of the inner bag to the outer bag.

For this particular one in the pic, the strap is made in flat stitch, and all the stitches used on the body are:

  • Wrapped reverse stitch
  • 2×2 rib of knit and wrapped reverse stitches.
  • Simple stitch to back loop
  • Offset cross stitch
  • Smock stitch
  • Knit stitch
  • Honeycomb stitch
  • Full stitch
  • Reverse stitch
  • Simple stitch

...and for materials I used:

  • Fingering weight Lumen wool/silk yarn made by the Lancaster Yarn Shop, in peridot and shell pink
  • 3.5mm Addi Tunisian double hook
  • Size 10 Tulip bent tip tapestry needle
  • Size 26 John James gold-plated tapestry needle
  • 50wt Aurifil cotton Mako thread #BMK50-5013
  • 5 OSY Tuscarora Mills cotton/linen dimity weave fabric #107-N
  • Local beeswax
  • Iron, ironing board
  • "Pineapple Grove" scented Soak all-natural detergent

More pics:

0

Can Tunisian Ocean Stitch be done with 2 colors in the round?

preview

Does anyone know if this is possible? I tried looking it up and couldn't find anything. Then, I tried to just do it, but it didn't seem to be working... Solid odds I was either doing it wrong, or it needs some kind of modification to work with 2 color in the round style. There's gotta be a way right?

Does anyone know if this is possible? I tried looking it up and couldn't find anything. Then, I tried to just do it, but it didn't seem to be working... Solid odds I was either doing it wrong, or it needs some kind of modification to work with 2 color in the round style. There's gotta be a way right?

0

Experimentations in Tunisian crochet

preview

A weird thing about Tunisian crochet is that the flat and in-the-round variants are quite different from each other! Flat uses a singed ended hook, and round uses a double ended hook. Flat builds up stitches on the hook in one direction, and removes them from the hook in the opposite direction. Round builds up stitches in one direction, and removes them in the same direction, but off the other side of the hook. There are patterns you can produce in round that seem impossible to do in the other, and vice versa. Here, I'm trying to guess at one possible flat method to mimic this traditional in-the-round pattern.

So, intuitively it seems doable the standard way, at first. The beginning goes easy enough. You work forward in yarn color A, then tie in yarn color B and do your return pass in that. Now, you go to do the next forward pass, but gasp! The working end of yarn color A is still over on the other side of the work! You left it there when you tied on yarn color B.

One attempt I've seen done is to carry the unused yarn along the back of the work, but it's messy and makes for a loose fabric. I went another method:

Sample square worked flat in roughly the same pattern as the header image of the post

How this goes is, you use the double ended hook you'd usually use for in-the-round. You pick up and remove stitches with the two ends as you would in the round, until you get to the other side. This is where it gets weird. Now, you do that exact same thing over again, except you do everything in reverse! The side of the hook you were using to remove stitches, now you're using it to pick them up. And the side you were using to pick up stitches will remove them. It doesn't feel great or intuitive, it's basically like switching from left handed to right handed or vice versa.

It works, but as you can see there's one more problem. The vertical ribs in TSS always tilt slightly to one side, but now the tilt direction changes each row! There is a way to fix that using twisted TSS stitches on alternate rows, but to make it more complicated, I also wanted to have a solid color border at the left and right. This is roughly how I thought it could go, combining this new method with the float method mentioned earlier for the sides:

A difficult to follow chart of the method

So, incorporating all this, I tried it again. Here's the comparison, with LOTS of mistakes. It was eally hard to get the hang of lol. Check it out:

Comparison of 2 attempts

A weird thing about Tunisian crochet is that the flat and in-the-round variants are quite different from each other! Flat uses a singed ended hook, and round uses a double ended hook. Flat builds up stitches on the hook in one direction, and removes them from the hook in the opposite direction. Round builds up stitches in one direction, and removes them in the same direction, but off the other side of the hook. There are patterns you can produce in round that seem impossible to do in the other, and vice versa. Here, I'm trying to guess at one possible flat method to mimic this traditional in-the-round pattern.

So, intuitively it seems doable the standard way, at first. The beginning goes easy enough. You work forward in yarn color A, then tie in yarn color B and do your return pass in that. Now, you go to do the next forward pass, but gasp! The working end of yarn color A is still over on the other side of the work! You left it there when you tied on yarn color B.

One attempt I've seen done is to carry the unused yarn along the back of the work, but it's messy and makes for a loose fabric. I went another method:

Sample square worked flat in roughly the same pattern as the header image of the post

How this goes is, you use the double ended hook you'd usually use for in-the-round. You pick up and remove stitches with the two ends as you would in the round, until you get to the other side. This is where it gets weird. Now, you do that exact same thing over again, except you do everything in reverse! The side of the hook you were using to remove stitches, now you're using it to pick them up. And the side you were using to pick up stitches will remove them. It doesn't feel great or intuitive, it's basically like switching from left handed to right handed or vice versa.

It works, but as you can see there's one more problem. The vertical ribs in TSS always tilt slightly to one side, but now the tilt direction changes each row! There is a way to fix that using twisted TSS stitches on alternate rows, but to make it more complicated, I also wanted to have a solid color border at the left and right. This is roughly how I thought it could go, combining this new method with the float method mentioned earlier for the sides:

A difficult to follow chart of the method

So, incorporating all this, I tried it again. Here's the comparison, with LOTS of mistakes. It was eally hard to get the hang of lol. Check it out:

Comparison of 2 attempts

0

Two color Tunisian crochet in-the-round purse

preview

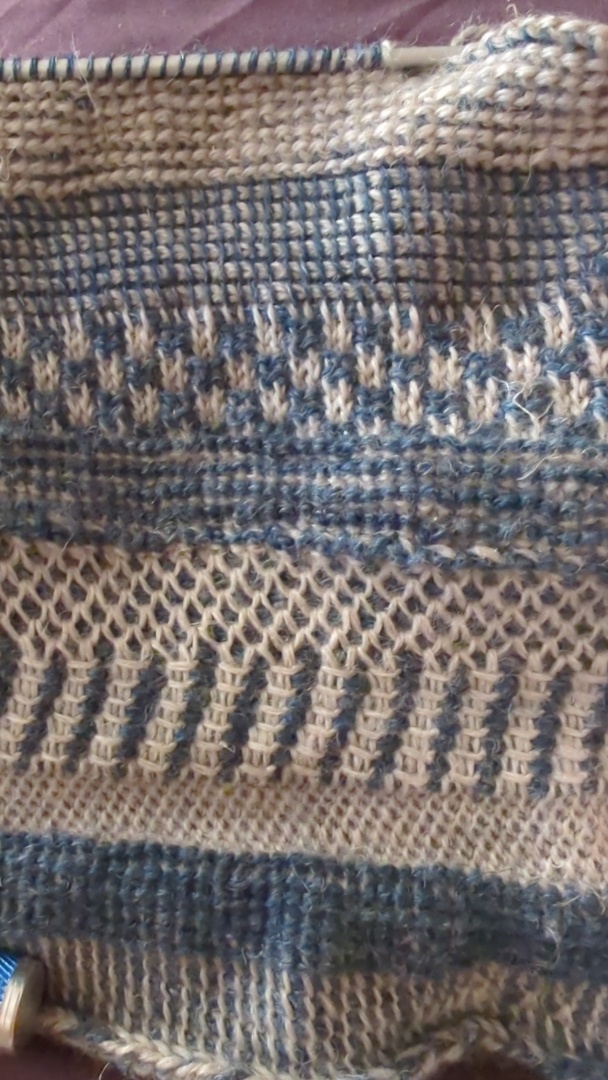
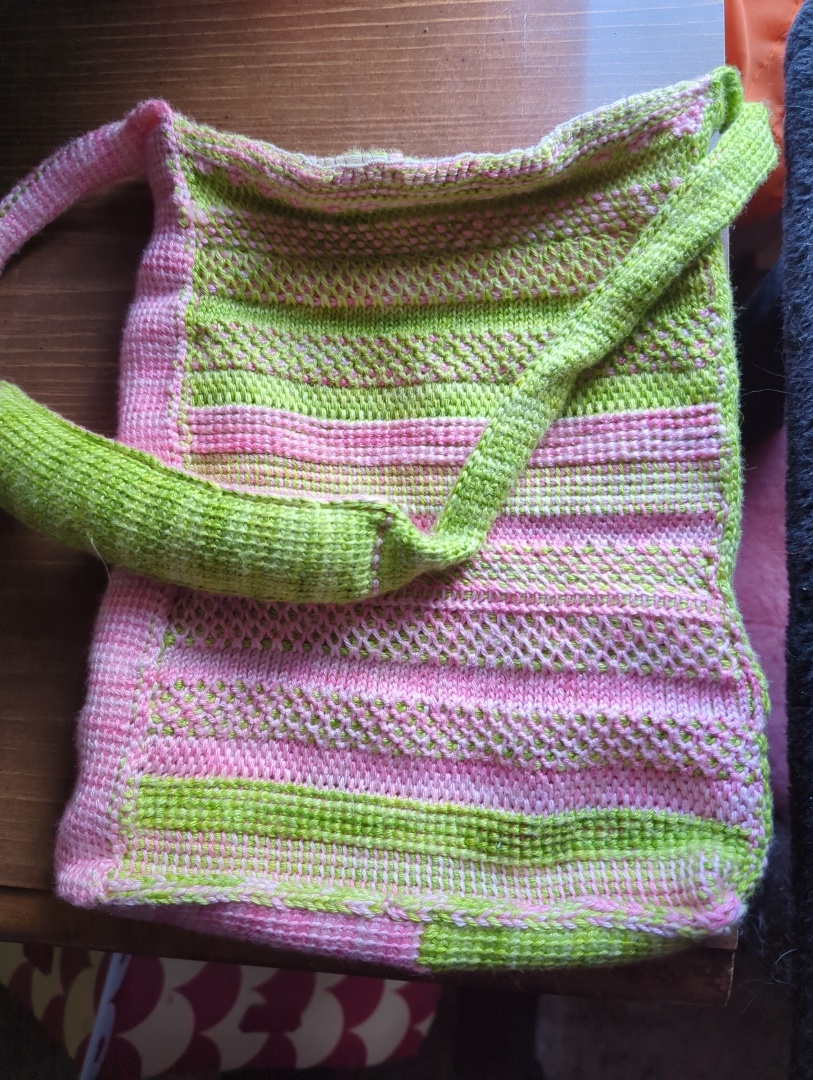
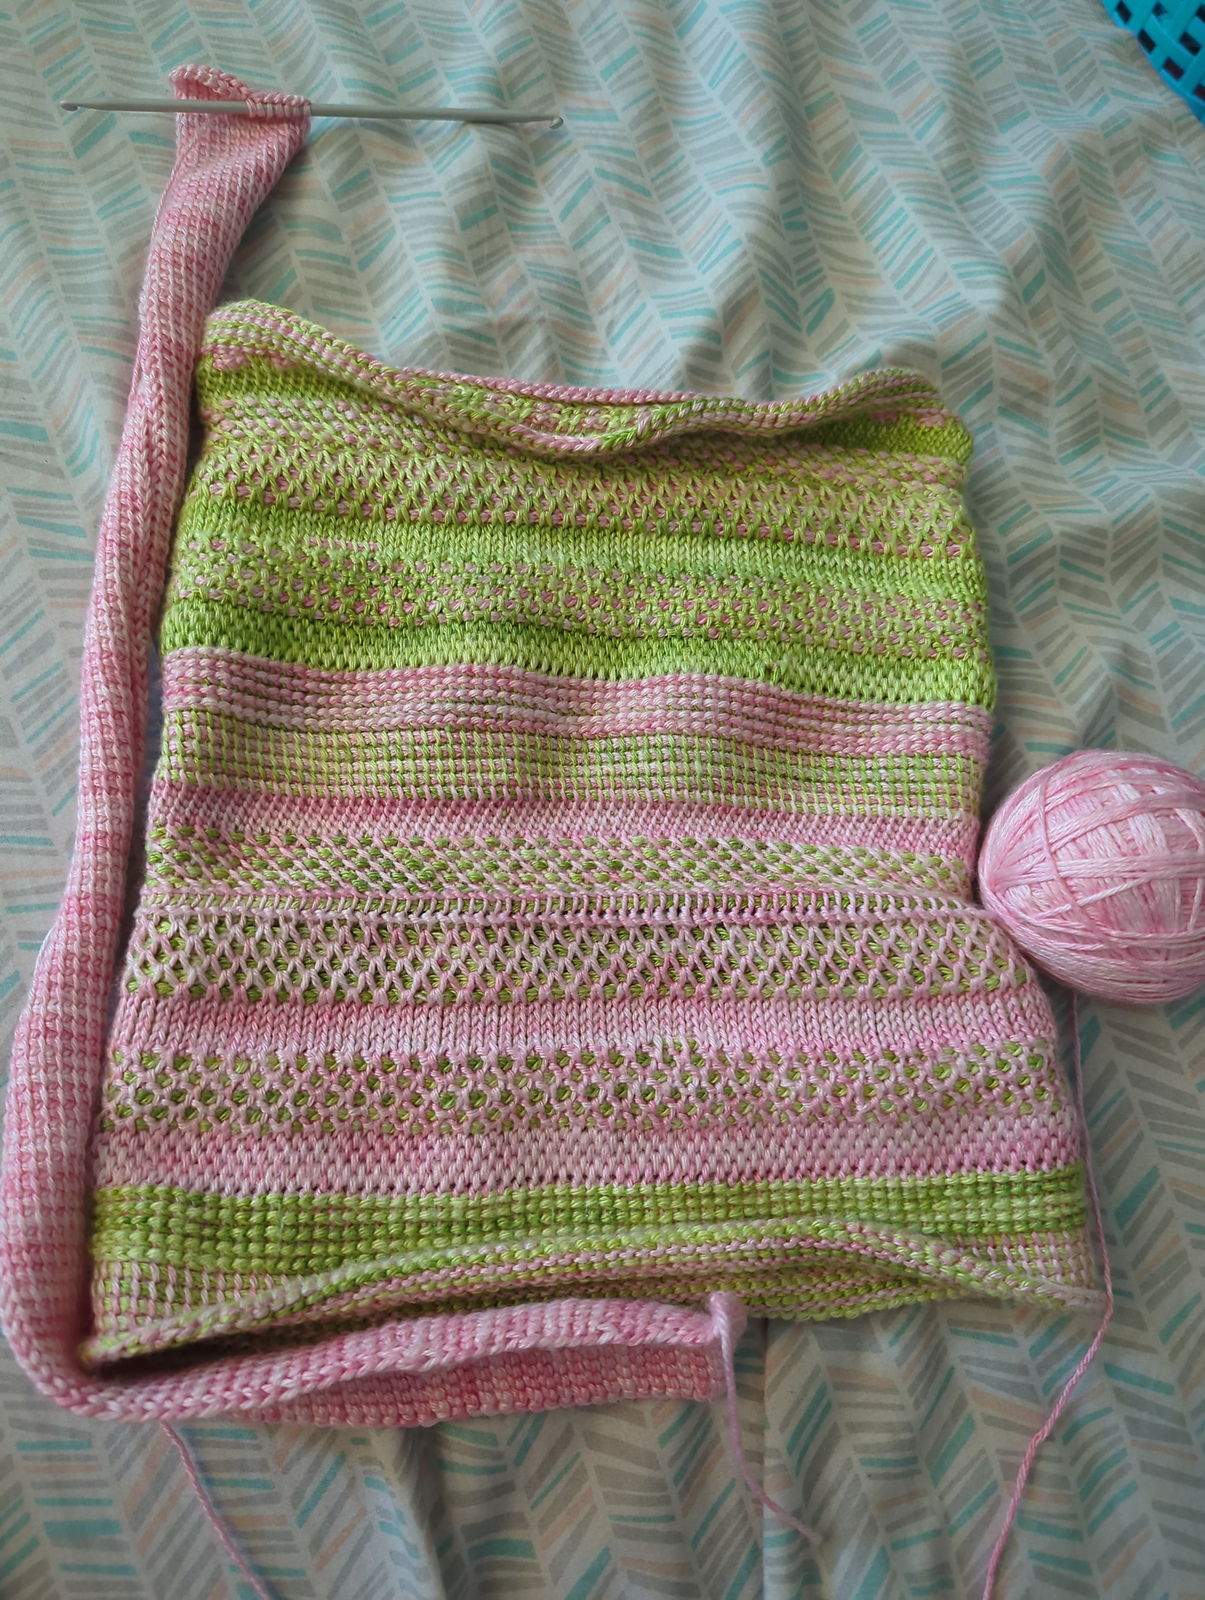
I made this mostly as a way to practice as many Tunisian in-the-round stitches as possible. It is a pretty comfy purse though! The yarn is interesting, I found these enormous spools of it at Goodwill. It's very fine, maybe lace weight, except it's slightly fuzzy? It's not very strong but once it's worked up into a reasonably dense fabric, it'll hold up. Gives the finished object a soft and fuzzy feel.

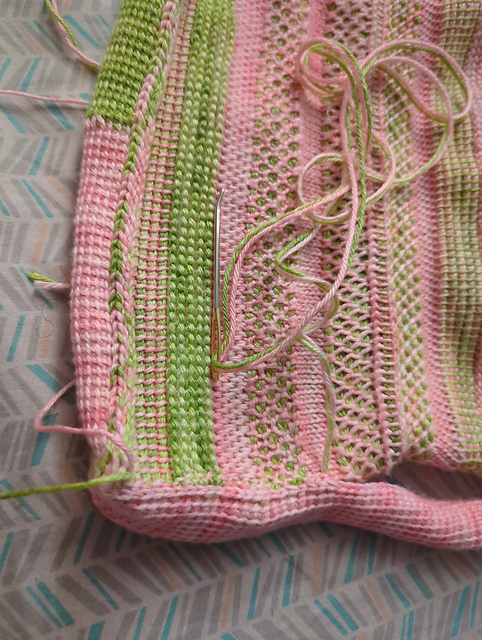
There's no pattern, but it's very simple. Just work the body of the purse in-the-round as one big cylinder, switching types of Tunisian every few rows for coolness. Then separately make a thin, lonnnggg band of flat Tunisian simple stitch. Slip-stitch the band to the bottom of the cylinder to close it off at one end, and then continue stitching it up the sides of the cylinder. The excess band at the top becomes the purse strap. Overlap and stitch together the ends of the band to form a nice thick padding for your shoulder.

Tunisian in-the-round hooks are little harder to find than hooks for working flat. I really love the set I used to make this purse, but the company discontinued it! I've lost a few of them since then too...

I made this mostly as a way to practice as many Tunisian in-the-round stitches as possible. It is a pretty comfy purse though! The yarn is interesting, I found these enormous spools of it at Goodwill. It's very fine, maybe lace weight, except it's slightly fuzzy? It's not very strong but once it's worked up into a reasonably dense fabric, it'll hold up. Gives the finished object a soft and fuzzy feel.

There's no pattern, but it's very simple. Just work the body of the purse in-the-round as one big cylinder, switching types of Tunisian every few rows for coolness. Then separately make a thin, lonnnggg band of flat Tunisian simple stitch. Slip-stitch the band to the bottom of the cylinder to close it off at one end, and then continue stitching it up the sides of the cylinder. The excess band at the top becomes the purse strap. Overlap and stitch together the ends of the band to form a nice thick padding for your shoulder.

Tunisian in-the-round hooks are little harder to find than hooks for working flat. I really love the set I used to make this purse, but the company discontinued it! I've lost a few of them since then too...